Upgrading Your Agent: How to Move from Microsoft 365 Copilot to Copilot Studio

Writer
Quiz available
Take a quick quiz for this article.

Microsoft’s ecosystem offers multiple avenues for building AI agents, primarily split into two distinct paths: Microsoft 365 Copilot and Microsoft Copilot Studio.
While M365 Copilot provides an excellent, user-friendly interface for building declarative agents with standard instructions and limited configuration, there often comes a time when your use case outgrows those boundaries. When you need advanced custom capabilities—such as connecting to custom APIs, utilizing Model Context Protocol (MCP), designing complex agent flows, or attaching child agents—you need the power of Copilot Studio.
But what if you’ve already invested time building a great declarative agent in M365 Copilot? You don’t have to start from scratch. Here is a comprehensive technical guide on how to successfully promote your M365 Copilot agent into Copilot Studio, including crucial best practices to keep your environments clean.
The Core Concept: A Disconnected Instance
Before initiating a move, it is vital to understand the architectural relationship between the two platforms.
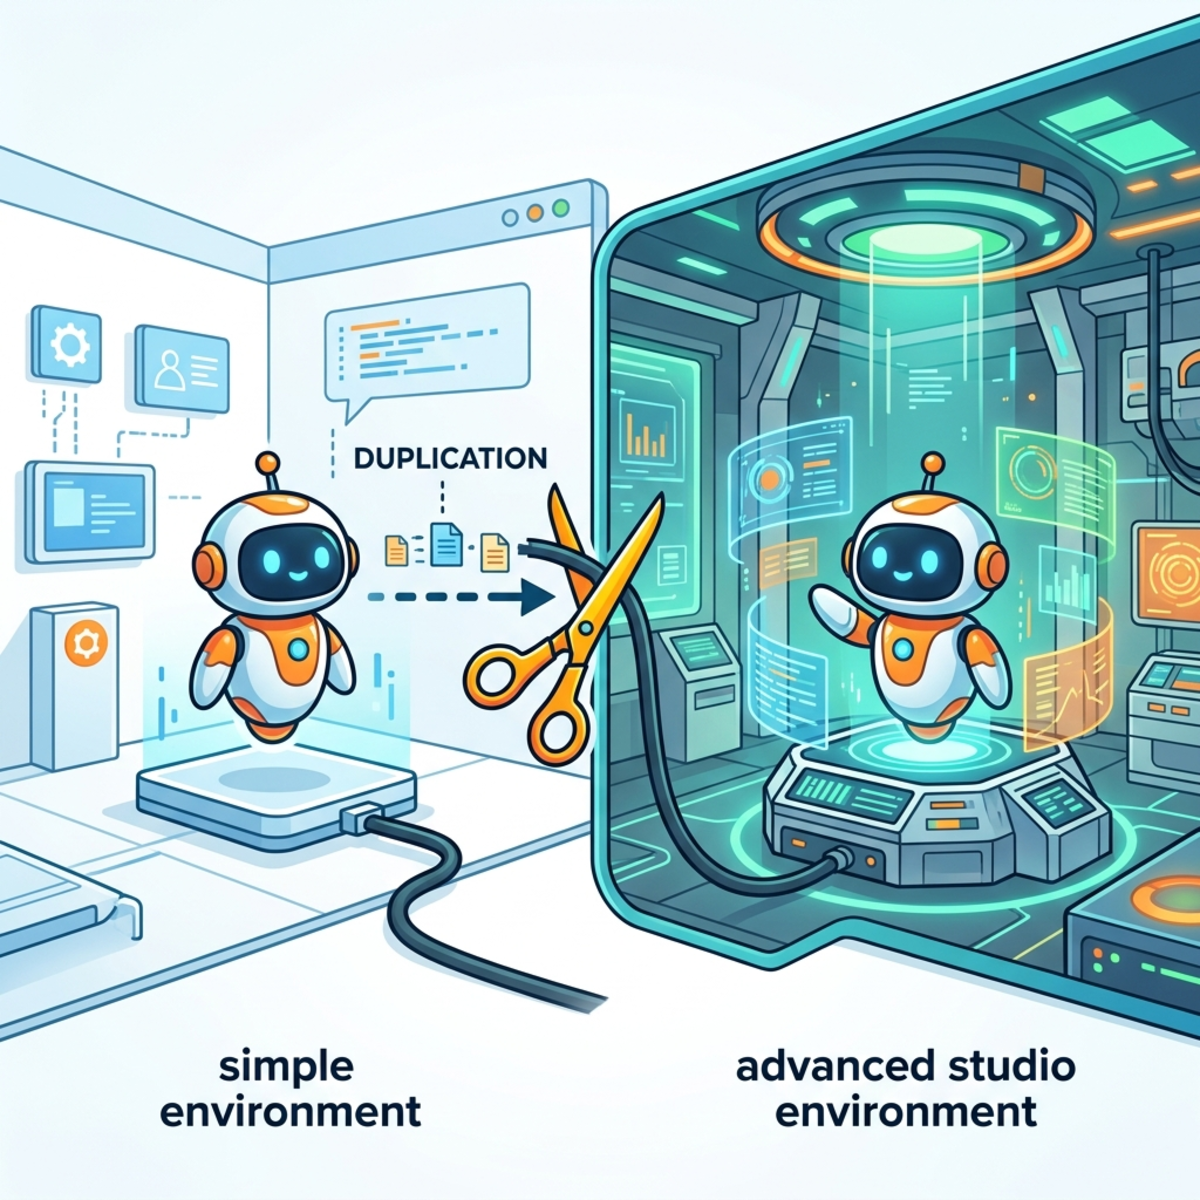
When you move an agent from M365 Copilot to Copilot Studio, you are not creating a live link. Instead, the process provisions a brand-new instance of a Copilot Studio agent based on your existing configuration. The moment the agent is created in Copilot Studio, the two agents are permanently disconnected. Any subsequent changes made to the original agent in M365 Copilot will have absolutely zero impact on the newly minted Copilot Studio agent.
The Migration Matrix: What Stays and What Goes
When transferring your agent, not every configuration parameter makes the journey. Microsoft provides a clear delineation of what is supported during the copy process.
What is successfully transferred:
- Agent Name (appended with ” - copy”)
- Custom Icons
- Agent Description
- Core Instructions
- Suggested Prompts / Starter Prompts
- Enterprise Knowledge (SharePoint sites and Website URLs)
What is NOT transferred (Dropped during migration):
- Directly uploaded files
- Teams and Outlook knowledge sources
- Sharing and permission settings
- Image generation capabilities
- Custom Actions
Note: If your declarative agent relied heavily on directly uploaded documents, you will need to re-upload or re-link that knowledge within Copilot Studio post-migration.

Step-by-Step Migration Guide
Step 1: Enter Edit Mode
A common stumbling block is trying to migrate an agent from the standard chat interface. You cannot promote an agent while you are actively executing or chatting with it.
- Open M365 Copilot and locate your agent.
- Click the three dots (
...) and select Edit. - Once inside the Edit interface, click the three dots (
...) again located in the configuration panel. - Select Copy to Copilot Studio.
Step 2: Environment Selection
You will be greeted with a full-experience warning detailing the migration matrix mentioned above.
- Click Get Started.
- You will be prompted to select your target Power Platform Environment. Choose the specific environment where your Copilot Studio resources reside (e.g., a dedicated Dev or Sandbox environment).
- Click Continue. The system will navigate you to copilotstudio.microsoft.com and begin gathering your agent’s instructions.
Step 3: Review and Refine
Once the Copilot Studio interface loads, your agent’s configurations will be pre-populated.
- Name: The system automatically appends ” - copy” to your agent’s name. You can manually delete this.
- Description Limit: Pay close attention to your description. Copilot Studio strictly enforces a 30-character limit for the description field. Ensure your text conforms to this constraint.
- Knowledge & Prompts: Verify that your website sources and suggested prompts have populated correctly.
Critical Best Practice: Solution Management
This is the most important technical step of the entire process. Once you are on the final review screen in Copilot Studio, do not blindly click “Create”.
If you simply click “Create”, your advanced agent will be dumped into the environment’s Default Solution. This is an architectural anti-pattern that makes application lifecycle management (ALM), version control, and future deployments incredibly difficult.
Follow these steps instead:
- Verify the environment listed on the screen is correct.
- Click the three dots (
...) next to the Create button. - Select Update advanced settings.
- In the dropdown, select a specific Power Platform Solution to house your agent.
- Define the Agent Logical Name (Schema name) to adhere to your organization’s naming conventions.
- Click Update, and then click Create.

Pro-Tip for Solution Mapping: The migration screen in Copilot Studio does not have a dynamic refresh capability for the backend environments. Therefore, you must create your target Power Platform Solution and configure your Publisher before you ever click “Copy to Copilot Studio” in M365. If the solution doesn’t exist before you start the migration, you won’t be able to select it in the advanced settings.
Once you hit create, the platform will take a few moments to provision the resources. You will then have full access to Copilot Studio’s advanced authoring canvas, allowing you to add complex tool calling, agent flows, and advanced telemetry to your newly upgraded agent.
Read next
Related articles

Mastering Copilot Studio: 2026 Release Wave 1, Agentic Workflows, and Enterprise Governance

Automating Application Provisioning with Copilot Studio’s New Agent Builder