The Complete Guide to OpenCode: Architecting Your AI Coding Workflow

Writer
Quiz available
Take a quick quiz for this article.

Tools come and go in the AI development space, but community momentum is the ultimate indicator of what will stick. If you are deciding where to invest your time, look at the ecosystem: while Claude Code sits at a respectable 67,000 GitHub stars, OpenCode has surged to over 105,000 stars—grabbing 36,517 in a single month alone.
This velocity means better documentation, more community configurations, and a rapidly expanding plugin ecosystem. But beyond the hype, OpenCode represents a fundamental shift. It is essentially the open-source, MIT-licensed equivalent of Claude Code, but with a massive advantage: it is entirely provider-agnostic. When new models drop—like OpenAI’s GPT-5.3 codex outperforming previous benchmarks—you aren’t locked into a single ecosystem. You can seamlessly switch between Anthropic, OpenAI, Google, or even local models.
However, if you are only using the vanilla agents that ship inside of OpenCode, your results will remain vanilla. OpenCode is incredibly useful out of the box, but taking things to the next level requires you to stop treating it like a simple chat interface and start treating it like infrastructure. This means implementing custom agents to package your workflows, tools, and constraints so they compound and improve over time.
Here is the ultimate, updated guide on how to conceptually understand, install, and master OpenCode, including everything you need to know to build specialized custom agents.
The “Three Layers” Mental Model

To use OpenCode effectively, you need to understand its architecture. Think of the tool in three distinct layers:
- The Agents Layer (Who is driving?): This dictates the AI teammate you are interacting with. Agents can be primary (driving the conversation) or sub-agents (handling focused tasks).
- The Rules Layer (How should they behave?): Managed via the
agents.mdfile, this layer acts as the onboarding document for your AI, defining project conventions, directory structures, and strict dos/don’ts. - The Extensions Layer (How do we automate?): This consists of Skills (reusable knowledge playbooks) and Commands (one-shot executable workflow shortcuts).
The Optimal Setup: WSL + VS Code
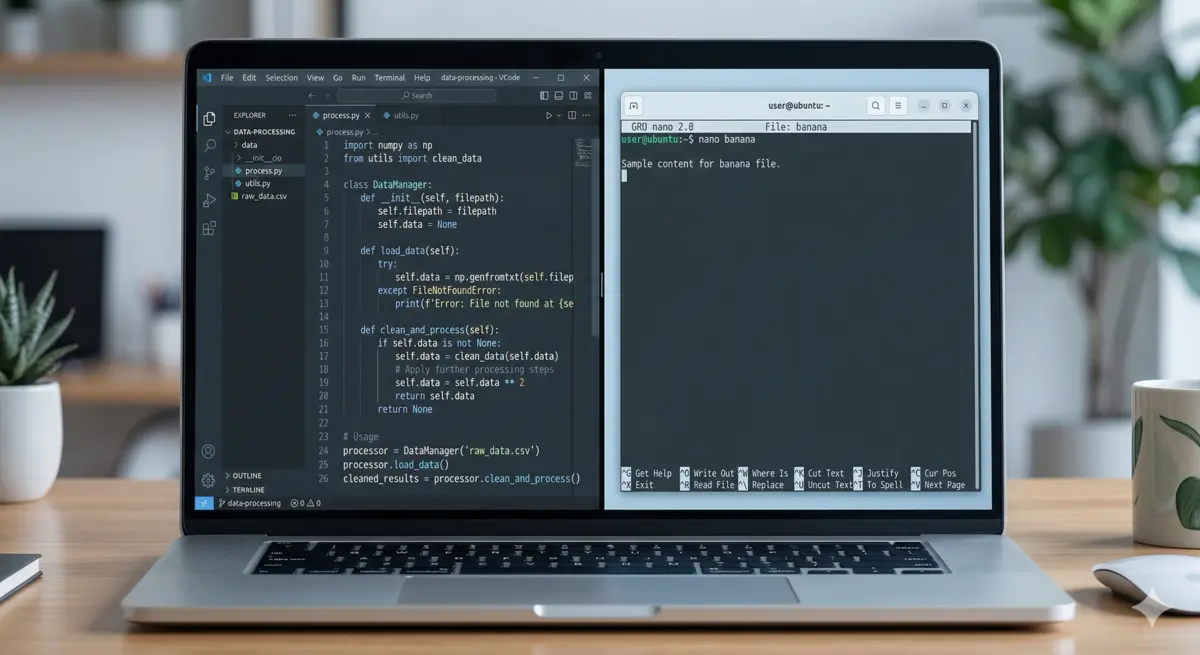
While you can run OpenCode in various environments, the recommended setup for the best performance and terminal compatibility is running it on Windows Subsystem for Linux (WSL) paired with VS Code.
The Workflow Architecture:
- VS Code acts as your visual code editor.
- WSL acts as your runtime environment.
- OpenCode runs purely inside the WSL terminal, editing the exact same file system that VS Code has open.
This ensures consistency: one copy of the repo, one toolchain, and one set of credentials.
Getting Started:
- Ensure WSL is installed (
wsl --install). - Open VS Code, click the remote environment toggle in the bottom left, and connect to your WSL (Ubuntu) instance.
- Create your project directory, navigate into it, and run
code .to open the IDE in that remote context. - Install the OpenCode extension inside VS Code. Make sure to open it via
Ctrl+Shift+Prather than conflicting terminal shortcuts. - In a separate terminal window, run the standard install command provided in the OpenCode documentation.
Mastering the Agents Layer: Primary vs. Sub-Agents
Once initialized (simply type OpenCode in your terminal), you will notice the tool includes free models out of the box. For serious work, hit Ctrl + P, select /login, and authenticate via OAuth to use premium models like GPT-5.3 codex.
OpenCode utilizes two different types of agents: Primary Agents and Sub-Agents.
Primary Agents (The Drivers)
Primary agents are the assistants you interact with directly to drive the conversation. You can switch between different primary agents using the Tab key. The two built-in primary agents are:
- Plan Mode (Think Safely): Always start here. Plan mode is restricted by permissions, preventing unintended, destructive changes. It defaults to asking for confirmation before running any risky bash commands. It is best for designing architecture, reviewing code, debugging strategy, and establishing a bulletproof approach before writing a single line of code.
- Build Mode (Do the Work): Once your plan is solid, toggle to Build mode. The agent now has full tool access to read, write, and execute bash commands for implementation. It is best for adding features, refactoring, and fixing failing tests.
Tip: Keep prompts highly specific here. If you prefer “vibe coding,” you
can use the Windows + H shortcut to dictate your architectural prompts
directly into the terminal.
Sub-Agents (The Specialists)
Sub-agents handle narrow, focused units of work without bloating the main context. They can be invoked autonomously by a primary agent or manually by you using an @ mention. The built-in sub-agents include:
- The General Agent: A general-purpose agent for researching complex questions and executing multi-step tasks. It has full tool access (except for to-do) and can make file changes when needed. It is heavily utilized to run multiple units of work in parallel.
- The Explore Agent: A fast, read-only agent for exploring codebases. It cannot modify files, making it the perfect tool for when you need to quickly find files by pattern, search code for keywords, or parse the codebase to answer questions.
Taking it to the Next Level: Custom Agents
If you have ever had a model perform brilliantly on one task but completely fall apart on the next, you are experiencing a workflow problem. Generalist agents are the AI equivalent of a “jack of all trades.” As humans, we specialize to deliver better quality, and AI agents should as well.
Custom agents allow you to segment your work realistically, ensuring consistency, improved speed, safety, and perfectly defined boundaries. Whether you are flying solo or working with a team (where agents can be committed to the repo to synchronize everyone), building custom agents is a dramatic workflow multiplier.
How to Build a Custom Agent
An OpenCode agent is fundamentally just a Markdown file equipped with YAML frontmatter. The frontmatter defines the agent’s identity, mode, and allowed tools, while the body holds the precise prompt and instructions.
The Golden Rule: Create exactly one job per agent to ensure maximum consistency and reliability.
To create a custom agent:
- In your project, create an
opencodefolder, and inside it, anagentsfolder (opencode/agents/). - Create a Markdown file, for example,
reviewer.md. - Give it strict definitions:
By defining the mode as "sub-agent", you can now @ mention the Reviewer Agent from your Build Agent session. You can also set a mode to "primary" to tab into it, or configure it to handle both. With constraints like disabling write and bash, you maintain safety while specializing the workflow.
Overriding Defaults with JSON
While Markdown is the preferred way to maintain a clean aesthetic and easily version-control your agents, you can also define agents globally or locally using an opencode.json file.
Inside this JSON file, you can create an agent key with a nested dictionary defining your custom agents (mode, tools, prompt). The prime advantage here is that you can explicitly override the default build and plan agents by specifying new prompts or pointing them to different destinations, keeping your main codebase slightly smaller.
The Rules Layer: Initializing agents.md
Before asking OpenCode to architect a robust backend, you must give it the project-wide context it needs to operate accurately. Run the command /init in your project root.
OpenCode will inspect your repository and generate an agents.md file. This tells all your agents how to run builds, where the tests live, and what your specific formatting rules are.
Crucial Takeaway: agents.md is a living document. The terminal will warn
you that bootstrapping an empty repo only captures so much. This file must
continuously evolve alongside your project to maintain high developer flow and
ensure team synchronization.
Under the Hood: LSPs and Context Management
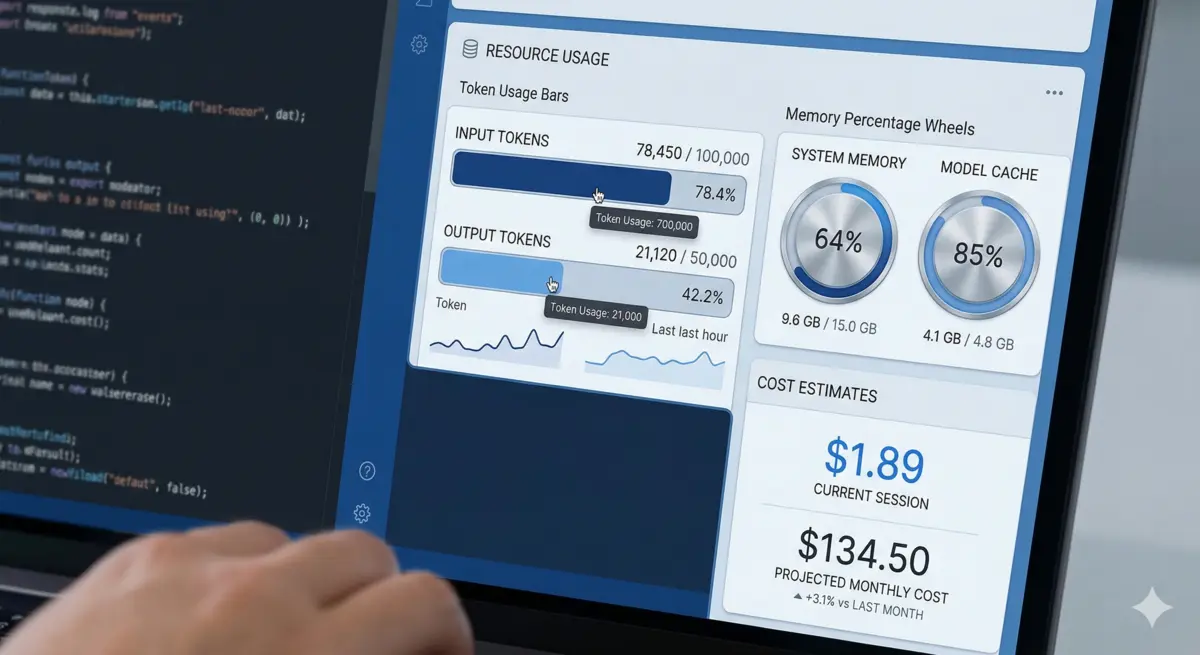
As your agent builds out your application, monitor its resource usage in the right-hand context panel. Here you will see Token Count, Context Window Percentage, and estimated cost.
Managing Context Bloat
If you notice your context window filling up (e.g., hitting 17,000 tokens), simply run the /compact command. OpenCode will elegantly summarize the current session, dramatically dropping your token usage without losing the thread of the conversation.
Dynamic Reasoning: Need the model to reason harder on a complex bug? Hit
Ctrl + T to dynamically adjust the AI’s “Level of Thinking.”
The Role of LSPs
OpenCode doesn’t just guess syntax; it integrates seamlessly with Language Server Protocols (LSP). An LSP is an open JSON-RPC-based standard that acts as a bridge between the code editor and language-specific intelligence tools. This allows OpenCode to execute smart, context-aware actions—like accurate autocompletion, intelligent refactoring, hover docs, and precise go-to definitions—without needing hardcoded logic for every language.
The Extensions Layer: Skills vs. Commands
As your workflows mature, you will want to combine Agents with Skills and Commands. When you combine configured agents with repeatable skills and shortcuts, you create a continuously improving baseline. Every time you learn a better way to do something, you update the agent’s prompt or refine the specific skill.
Skills (The Playbooks)
Skills are reusable knowledge playbooks loaded on-demand via the skill tool. They dictate how things are done. Target specific use cases, like a playbook for database migrations, or enforcing cohesive copywriting tone. OpenCode walks your git tree to discover them, whether stored locally (.opencode/skill/) or globally.
Commands (The Shortcuts)
Commands are workflow shortcuts triggered manually by the user to run subtasks quickly. They dictate what to do. For example, a /test command to execute a robust testing suite prompt, or accepting variables like /component $1 $2.
Fast Scaffolding
OpenCode includes a built-in generator to automatically build the correct file structures and frontmatter for these automations:
Remember to restart your OpenCode session (Ctrl + C and reopen) after generating a new extension so it can be properly indexed.
Advanced Agent Frameworks & Pro-Tips
If you want to skip manually configuring basic agents and jump straight to advanced team collaboration, look into frameworks like the BMAD Method.
BMAD offers Agile, scale-domain adaptive AI development. Installing its core module inside OpenCode gives you out-of-the-box structured workflows and 12 distinct domain experts—ranging from a Project Manager and an Architect to a UX Scrum Master and a Solo Quick-Dev (perfect for fast, one-off apps like a Python Snake game). It even features a “Party Mode,” allowing multiple agent personas to collaborate and discuss solutions in a single session.
The Ultimate Meta-Hack: Create an OpenCode Expert primary agent.
Instead of building out YAML files or new skills from scratch yourself, give an agent the specific role of generating OpenCode resources. Tell it your preferences (e.g., using Vite, UV, specific component libraries, or custom color palettes), and simply ask it to write the agent files, skills, or commands for you. It yields a fantastic starting point that you can further refine to your exact tastes.
Read next