Bridging the Gap: Supercharging Your CLI with GitHub Copilot and M365 Work IQ

Writer
Quiz available
Take a quick quiz for this article.

Command Line Interfaces (CLIs) are experiencing a massive renaissance. While we spend a lot of time discussing natural language agents and the inherent ambiguity of things like the Model Context Protocol (MCP), a CLI remains a uniquely powerful tool. It offers deterministic, fixed-syntax execution—making it the perfect interface not just for developers, but for AI agents executing precise system commands.
Today, we are diving deep into the GitHub Copilot CLI and how to supercharge it using the Work IQ extension. This combination bridges the gap between your local terminal and your entire Microsoft 365 corporate brain.
Here is the complete technical guide to getting this set up, along with the tips and tricks to integrate it into your daily workflow.
1. The Architecture: Copilot CLI & Work IQ
The GitHub Copilot CLI brings the agentic reasoning of Copilot directly to your terminal. It allows you to switch between various LLMs on the fly, process large codebases, and interact with plugins.
The Work IQ plugin acts as the bridge between this CLI environment and your Microsoft 365 (and Dynamics 365) data.
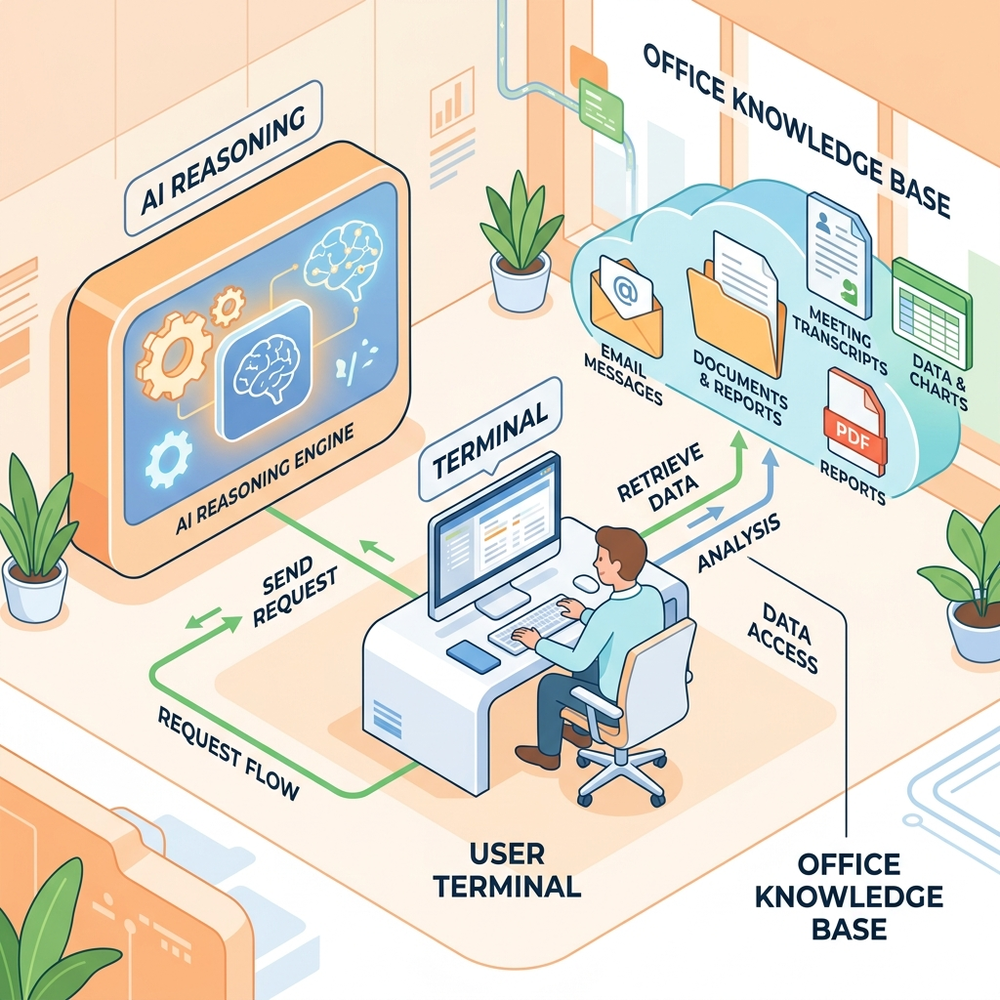
- The Semantic Index: Instead of relying on basic lexical (keyword) searches, Work IQ taps into Microsoft’s Semantic Index. It understands the intent and semantic meaning behind your queries, scanning SharePoint, OneDrive, Teams chats, meeting transcripts, and emails.
- Enterprise Security: It strictly enforces your existing data permissions, sensitivity labels, and Data Loss Prevention (DLP) policies. You only see what you are authorized to see.
- Dual-Memory System: It utilizes Implicit Memory (learning how data, projects, and colleagues relate to each other over time) and Explicit Memory (remembering direct instructions, like “never use emojis in responses”).
2. Prerequisites
Before touching the terminal, ensure the correct licensing and administrative consents are in place.
Tenant-Level Requirements
Your organization’s Entra ID administrator must have onboarded and consented to the Work IQ CLI application for the tenant.
User-Level Requirements
- A valid GitHub account (enable a Passkey or MFA if you are setting this up for the first time).
- An Enterprise Microsoft 365 account.
- An active M365 Copilot license
3. Installation & Environment Setup
To get the best experience, we need to move past the legacy Windows command prompt and set up a modern terminal environment. If you are doing your vibe coding on a Mac, you can achieve the Copilot CLI installation easily via brew or npm, but the following steps focus on the optimal Windows package manager (winget) route.
Open an elevated command prompt (Run as Administrator) and execute the following:
Install Modern PowerShell:
The default Windows PowerShell is outdated. Use upgrade instead of install if updating.
Install Windows Terminal:
A highly customizable tabbed interface.
Install Node.js:
Required for the underlying processes.
Install the GitHub Copilot CLI:
Configuration Step
Open your new Windows Terminal. Click the dropdown arrow in the title bar, go to Settings, and under the Default Profile section, change the dropdown from Windows PowerShell to the newly installed PowerShell (version 7+). Save and restart the terminal.
4. Authentication and Plugin Configuration
With the environment built, it’s time to connect the pipes.
Step A: Initialize and Connect to GitHub
- Type
copilotinto your terminal. - Accept the prompt to trust your current folder.
- Accept the prompt to enable multi-line inputs using
Shift+Enter. - Type
/loginto initiate the OAuth flow. Press enter, let it open your browser, paste the provided device code, and authorize the application.
Step B: Install the Work IQ Extension
Once authenticated, we need to pull down the M365 integration.
- Add the marketplace:
Code
- Install the extension:
Code
- Restart the application:
Typeexit, then typecopilotto launch it again. - Accept the license agreement:
Code
You can verify the plugin is active by typing /skills list, which will output a markdown file detailing the capabilities Copilot now has access to.
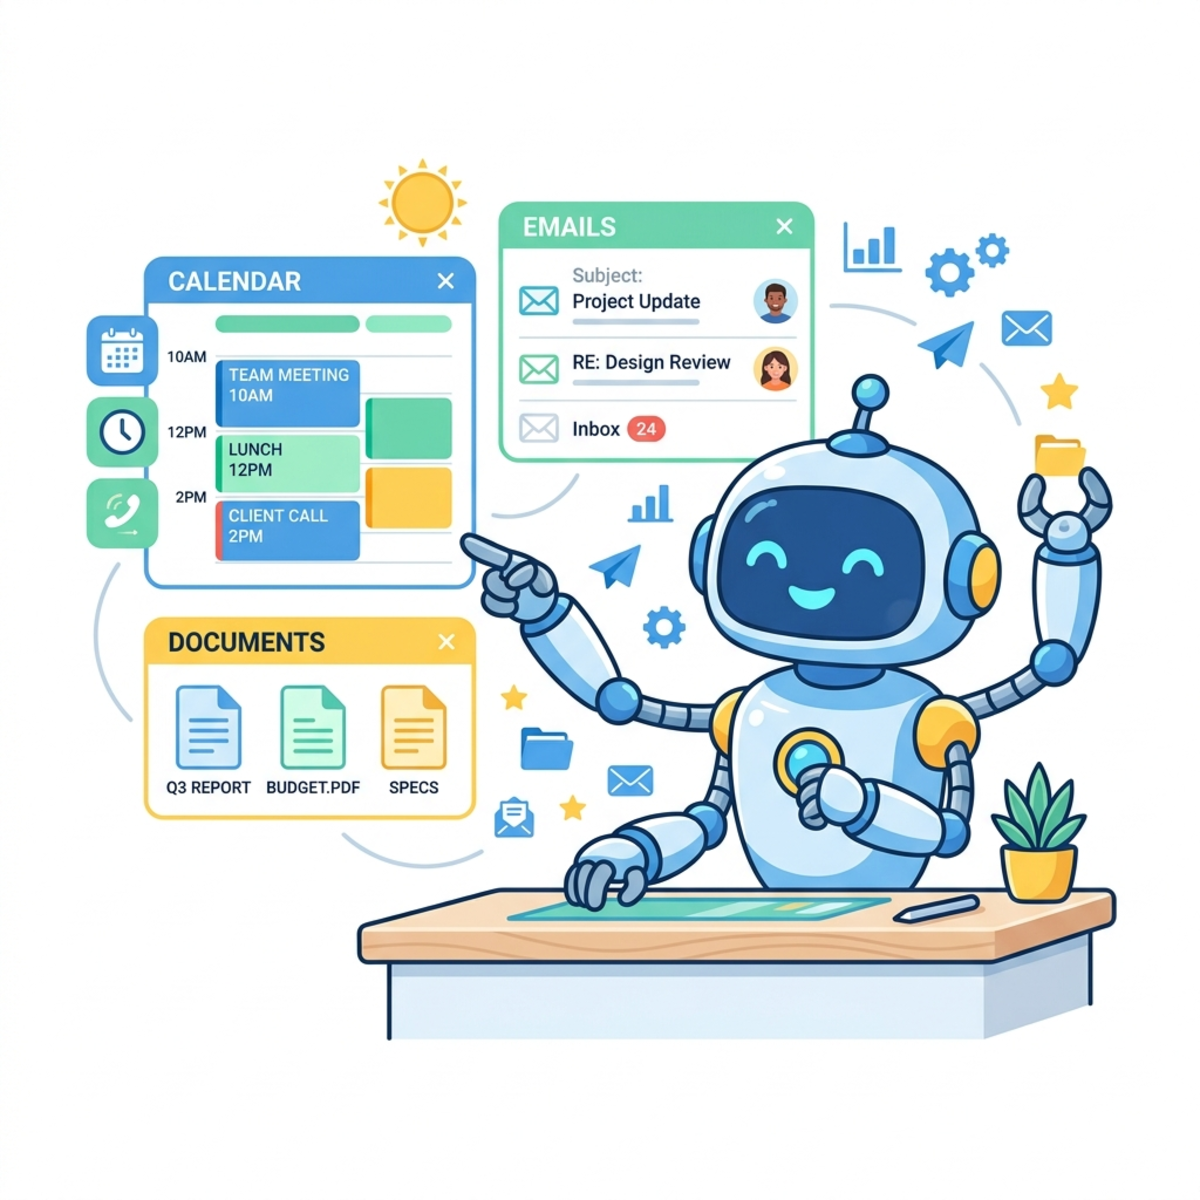
5. Usage Modes: Tips & Tricks
You now have a conversational interface to your corporate data right in your terminal. Here are the different ways to wield it:

Implicit Invocation
You don’t always have to tell Copilot to use M365; it’s smart enough to figure it out.
- Command: Ask a natural question, like “What are my most recent emails?”
- Behavior: Copilot will pause and ask if you want to use the Work IQ tool. Select Option 2 (Yes, and don’t ask again) to streamline future requests.
Note: The first time you do this, it may pop up a browser window asking you to authenticate with your Entra ID credentials so it can access your specific mailbox.
Explicit Invocation
If you want to bypass Copilot’s decision-making and force a Semantic Index search, call the tool directly.
- Command:
Code
- Behavior: This forces a deep scan across all your transcripts, chats, and documents to pinpoint exact meeting dates and discussion points.
Interactive Loop Mode
If you are planning your day and need continuous context from M365 without prefixing every command.
- Command: Type
work iq askand press Enter. - Behavior: You are now dropped into a dedicated Work IQ prompt loop. You can ask broad, synthesized questions like, “What are the top two things that need my attention today?” and it will cross-reference urgent emails, Teams pings, and calendar events.
Non-Interactive (One-Shot) Mode
For rapid fire queries without entering the Copilot interface at all.
- Command: Straight from your standard PowerShell prompt, type:
Code
Essential CLI Shortcuts
To truly master this workflow, utilize the built-in commands:
/models: Instantly swap the underlying LLM. Switch to a faster model for quick lookups, or a heavier reasoning model for complex data synthesis.Ctrl + T: Toggles the reasoning display, allowing you to watch the agent’s thought process in real-time.?: Displays the full list of keyboard shortcuts.copilot --resume: A massive time-saver. If you exit the CLI, running this command will list your previous sessions, allowing you to select one and pick up exactly where you left off./init: Run this inside a local code repository to have Copilot index the folder structure and set up project-specific parameters.
Read next

![[DEPRECATED] Use Work IQ MCP servers in 3rd party agents outside Copilot Studio and Microsoft Foundry](https://candedeastropublic.blob.core.windows.net/images/articles/work-iq-mcp-custom-agents/hero_v2.webp)