The Ultimate Guide to Embedding Images in Word Documents via Power Automate

Writer
Quiz available
Take a quick quiz for this article.

The Ultimate Guide to Embedding Images in Word Documents via Power Automate
If you have spent hours struggling to get dynamic images into a Microsoft Word document using Power Automate, you are not alone. Generating documents is a common requirement, but dealing with dynamic arrays of images—and the errors that happen when images are missing—can quickly turn into an absolute mess.
Based on the architectural methodologies of ex-MVP and Microsoft Architect Damien Bird, this guide will walk you through a bulletproof, highly efficient solution for embedding images into Word templates, complete with advanced array techniques and robust error handling.
Phase 1: Preparing Your Word Template
Before building the flow, you must configure your Word document to receive the images.
- Insert your desired text and add Picture Content Controls where you want the images to appear.
- Select an image placeholder, navigate to its Properties, and explicitly define the Title and Tag (e.g.,
picture one,picture two). - Save this document as your template in a SharePoint Document Library.
Word Template Setup Tip: Explicitly setting the Title and Tag in the properties is crucial. Power Automate uses these to identify where to inject the images when populating the template.
Phase 2: Retrieving Attachments in Power Automate
Whether your flow is triggered by a Microsoft Form submission, a Power App, or a manual button, the core requirement is extracting the attachments saved to the SharePoint list item.
1. Get Attachments
Add the Get attachments action. Point it to your SharePoint site and list.
Crucial Tip: Ensure you map the dynamic ID of the list item here, not the File ID.
2. Get Attachment Content
Add the Get attachment content action. Pass in the same Site, List, and Item ID. For the File Identifier field, use the dynamic content from the previous step.
3. The Automatic Loop
The moment you map the File Identifier, Power Automate will automatically wrap your action in an Apply to each loop. This is expected loop behavior, as the system must loop through every attached file.

Phase 3: The Advanced Array Technique
A common mistake developers make is trying to map attachments directly into the Word document or relying on clunky variables. The most efficient way to handle this is by building an array using Compose actions.
Inside the Loop
Place a Compose action inside your Apply to each loop. Map the Attachment Content dynamic property directly into this compose box. Let’s call it compose.
Outside the Loop
Place a second Compose action below the Apply to each loop. Rename it to compose_attachments.
Action Naming Best Practice: Never leave spaces in the names of your actions. It makes writing expressions significantly harder.
In the inputs of this second Compose action, write the following expression to gather all the loop outputs into a single array:
(Replace ‘compose’ with whatever you named the internal compose action).
This array expression logic pulls data from a loop into a single array outside the loop efficiently without needing variable append actions.
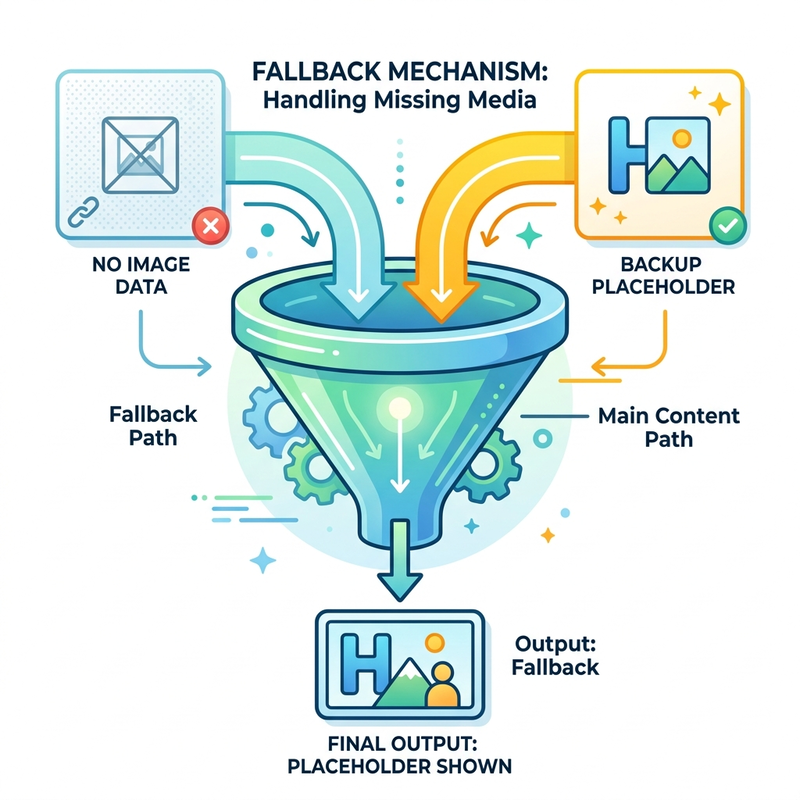
Phase 4: Bulletproof Error Handling (The Coalesce Method)
Word templates are rigid. If your document has three image placeholders, but the user only uploaded two images, the Word action will fail with the “Null” Error: "The image is not of type PNG or JPG." This happens because the third placeholder is receiving a null value.
To handle 0, 1, or 2 image scenarios gracefully, we must implement a default “fallback” image.
Store a Backup Image
Upload a placeholder image (e.g., “No Image Provided.jpg”) to your SharePoint library to serve as an error handling/fallback image.
Get the Backup
At the very top of your flow, add a Get file content action and point it to your backup image.
Map the Placeholders
Add the Populate a Microsoft Word template action. In the advanced parameters, you will see your placeholders (picture one, picture two, etc.).
Instead of mapping dynamic content directly, we will use the coalesce() expression. Coalesce checks a list of values and returns the first one that isn’t null.
For the first image control, use index targeting (?[0]) with this expression:
(Notice the ?[0]—this represents the first item in your attachment array).
For the second image control, simply change the index to 1 (?[1]):
Now, if an attachment does not exist at that specific array index, Power Automate will seamlessly inject your backup image instead of crashing the flow.
Logic Summary Table
Here is a quick breakdown of the core expressions used to make this happen:
| Function / Syntax | Purpose | Example Usage |
|---|---|---|
outputs() | Extracts the result of a specific action. | outputs('compose') |
?[index] | Zero-based index targeting for arrays. | ?[0] for the first image |
coalesce() | Returns the first non-null value from a list. | coalesce(val1, val2) |
utcNow() | Generates a timestamp for dynamic naming. | utcNow('yyyyMMddhhmmss') |
Phase 5: Saving the Output
Finally, you need to create the final file by saving the populated template back into SharePoint.
- Add the Create file (SharePoint) action.
- Define your target folder.
Dynamic Naming Tip: To prevent file name collisions, use an expression to
generate a dynamic timestamp. Place this in the File Name field:
utcNow('yyyyMMddhhmmss')
You must manually append .docx to the end of your file name, or the file
will be unreadable. (e.g., utcNow('yyyyMMddhhmmss')_GeneratedDoc.docx).
- File Content: Pass the Microsoft Word document dynamic content generated by the Populate Template action.
Important Limitation: Nested Image Controls
While this architecture is highly robust for static templates, you should be aware of a hard connector limitation within the Power Automate Word connector: Nested image controls are not supported.
If you are trying to create a dynamic table that automatically adds rows and images based on the number of attachments (e.g., a repeating table), this standard Word action cannot handle it. For truly dynamic, unbounded image lists, you will need to pivot to an HTML-to-Word generation strategy.
Read next